
Google Analytics is available for free and all you need is a Google or Gmail account to sign up. The signup process is quite simple, follow the step-by-step instructions below to create your Google Analytics account.
Step 1: First you need to visit the Google Analytics website to sign up. When you’re on the website, simply click the ‘Get started today’ button.

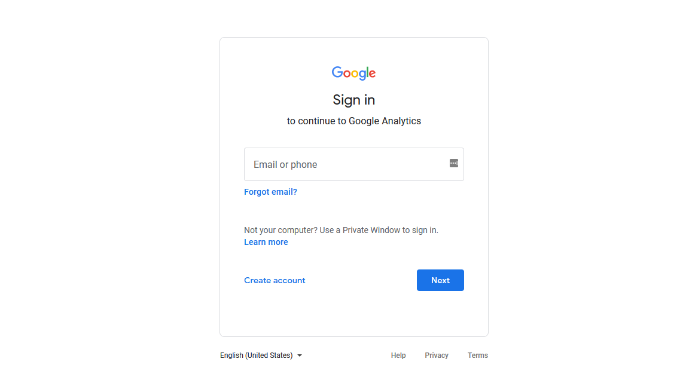
Next, you will be asked to log in with your Google account. If you already have a Google or Gmail account, then you can use that to sign in. Otherwise, you can go ahead and create a Google account for yourself.
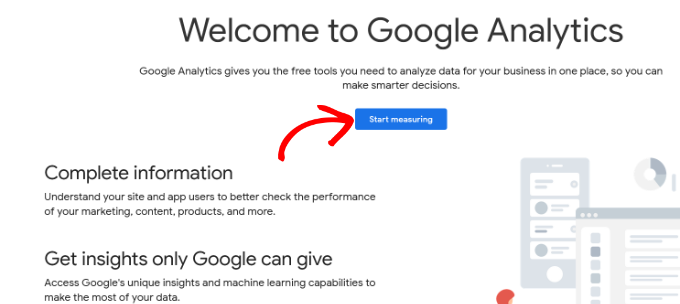
Step 2: Once you sign in with your Gmail account, you will be prompted to a welcome screen like the one below.
This is where you will signup for Google analytics with your Gmail account. Go ahead and click the ‘Start measuring’ button.
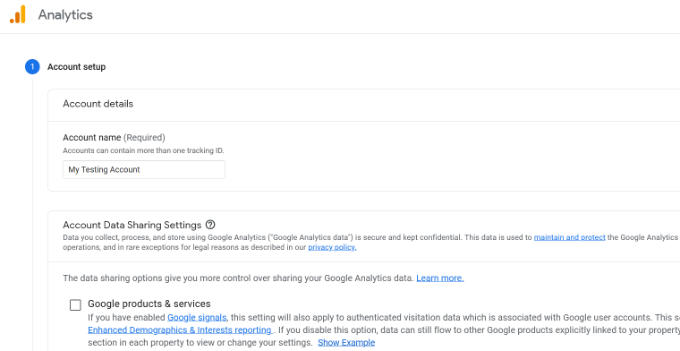
After that, you will be asked to provide an account name. This name will be used internally so you can use anything like your business name.
Google Analytics will also show multiple account data sharing settings. These settings give you control over sharing your Google Analytics data. You can keep the default settings and move on to the next step.
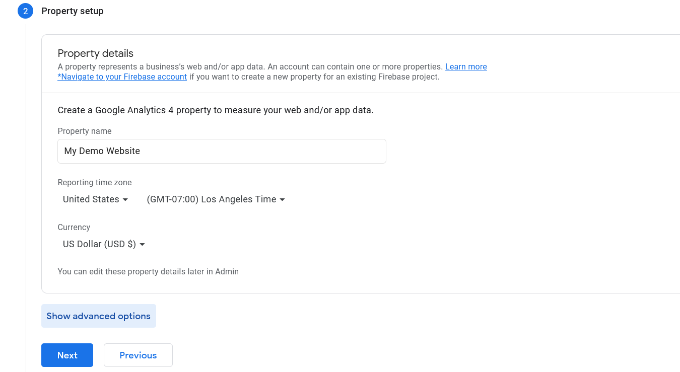
Step 3: On the next screen, you will need to create a Google Analytics property.
Google introduced a new version of Analytics called Google Analytics 4 or GA4. It’s the latest version that tracks your website and mobile apps in the same account. Plus, you get new features, metrics, and a different interface for your reports.
Important Note: If you already have a Universal Analytics account, then it’s critical to start tracking data in Google Analytics 4 (GA4) as well. That’s because Google will sunset Universal Analytics on July 1, 2023. After the sunset date, Universal Analytics will not receive any data and will eventually stop working.
Setting up a Google Analytics 4 property after the sunset date will mean starting from scratch. However, you can start sending data into GA4 today while still using Universal Analytics. This way, you’ll have historical data in Google Analytics 4 for comparison and analysis when Universal Analytics closes.
To start, go ahead and enter a property name, select your reporting time zone, and currency. Then click the ‘Next’ button.
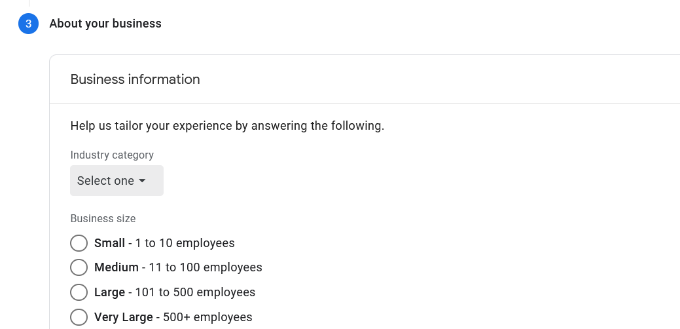
On the next screen, you’ll need to select an ‘Industry category’ from the dropdown menu for your website and choose a ‘Business size’ from the given options.
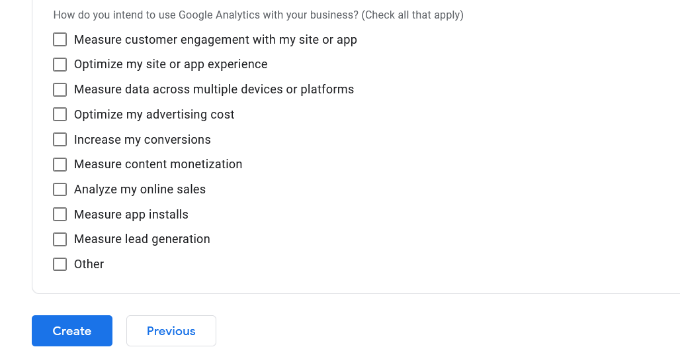
Next, you’ll need to scroll down and select how you intend to use Google Analytics with your business, like measure engagement, optimize advertising cost, increase conversions, and more.
You can choose multiple options or all of the given options that meet your needs. When you’re done, simply click the ‘Create’ button.
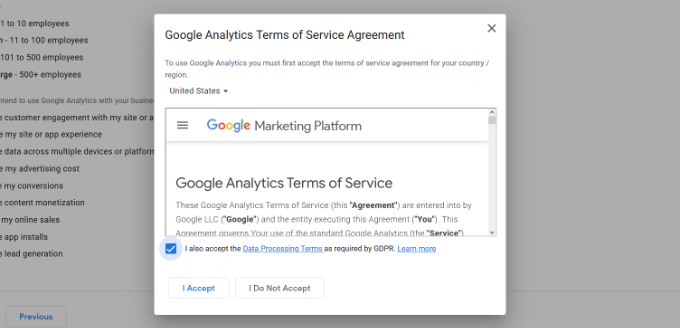
Once you click on the Create button, a popup window will open with Google Analytics terms of service agreement.
Simply click the checkbox for ‘I also accept the Data Processing Terms as required by GDPR’ and then click the ‘I Accept’ button.
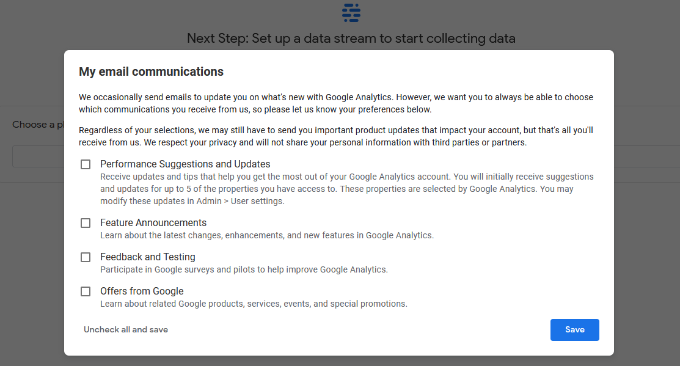
Next, you’ll see a popup with options on which communication emails you’d like to receive from Google Analytics.
Simply click the checkbox for the updates you want to receive and then click the ‘Save’ button.
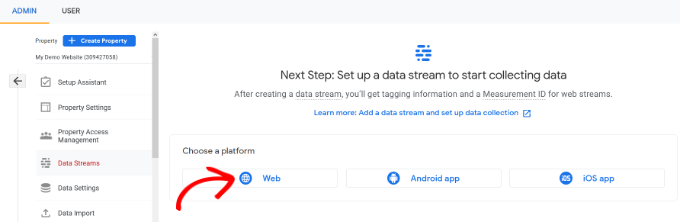
Step 4: Now you will be presented with your Google Analytics Webs stream options.
Since we’re setting up Google Analytics for a WordPress site, go ahead and select the ‘Web’ as the platform.
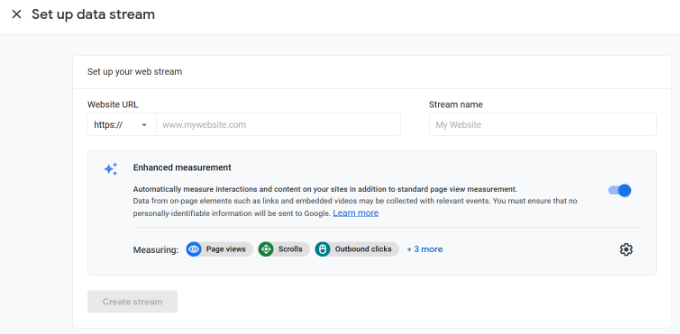
After that, you’ll need to enter your website URL and Stream name.
By default, Google Analytics will have an Enhanced measurement option enabled. This allows you to track page views, scrolls, outbound clicks, file downloads, and more in Google Analytics.
Next, you can click the ‘Create stream’ button.
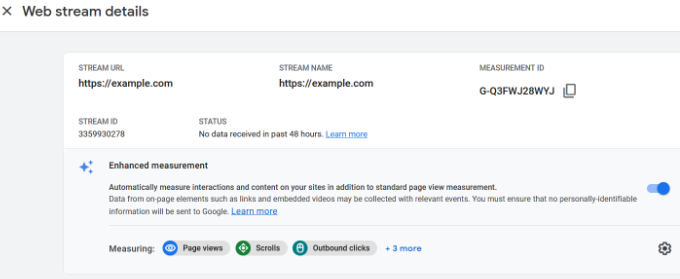
You can now see your Stream URL, name, and Measurement ID.
It will also show different enhanced measurements that it will record.
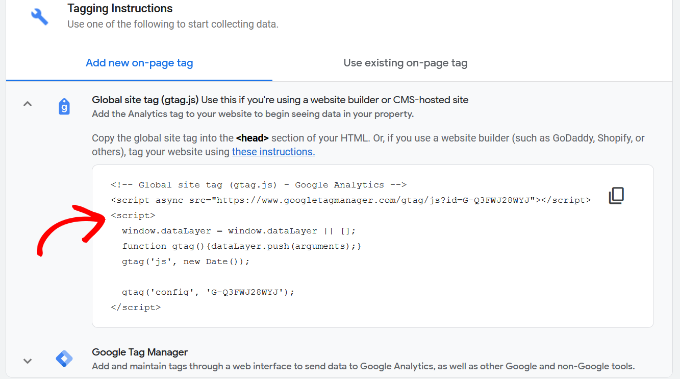
Google Analytics will also show different ways to add Google Analytics code to your WordPress website under the ‘Tagging Instructions’ section.
If you click the ‘Global site tag (gtag.js) option, you’ll see the Google Analytics tracking code.

You can copy this tracking code because you will need to enter it in your WordPress site depending on the method you use below. You can also simply leave this browser tab open and switch back to copy the code when needed.
We suggest leaving the Analytics browser tab open as you may need to revisit it once you have installed the code on your WordPress site.
Now that you have set up a Google Analytics account, let’s take a look at how to install Google Analytics in WordPress.
There are a few different ways to set up Google Analytics in WordPress. We will show you three methods where the first option is the easiest and the last is the hardest.
You can choose the one that best suits your needs.
Note: You need to use only one of these methods on your website to avoid double tracking of page views in your Google Analytics account.
This method is not as good as MonsterInsights because you will not be able to do advanced tracking configuration, and you will not be able to view Google Analytics data in your WordPress dashboard.
First, you will need to copy your Google Analytics tracking code (Global site tag) that you copied in Step 4 earlier when creating a Google Analytics account.
You can find it in the Web stream details under the ‘Tagging Instructions’ section.
Next, you need to install and activate the WPCode plugin. For more details, see our step-by-step guide on how to install a WordPress plugin.
Upon activation, you need to visit the Code Snippets » Header & Footer page. Here you need to paste the Google Analytics tracking code that you copied earlier into the ‘Header’ section.
![]()
Don’t forget to click the ‘Save Changes’ button to store your settings.
That’s all, you have successfully installed Google Analytics on your site.
 Google Analytics is capable of showing you a treasure of data collected from your stats. You can view this data by visiting your Google Analytics dashboard.
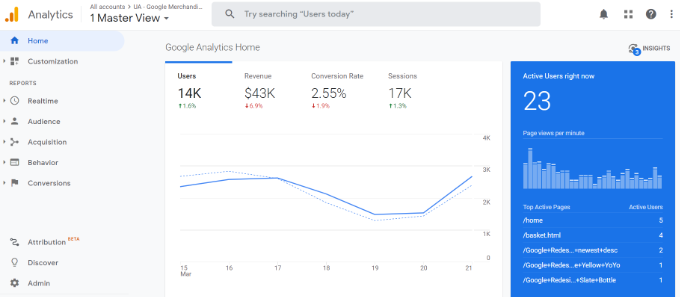
You will see the built-in Google Analytics reports in the left column. Each section is divided into different tabs and clicking on a tab will expand it to show more options.
Here’s what different reports in Universal Analytics tell you:
- Real-time report will show you a real time view of your traffic.
- Audience tab will show reports to help you understand your users.
- Acquisition reports explore where your users came from.
- Behavior reports summarize what your users do after they arrive on your site.
- Conversion reports show how well you’re doing against your goals
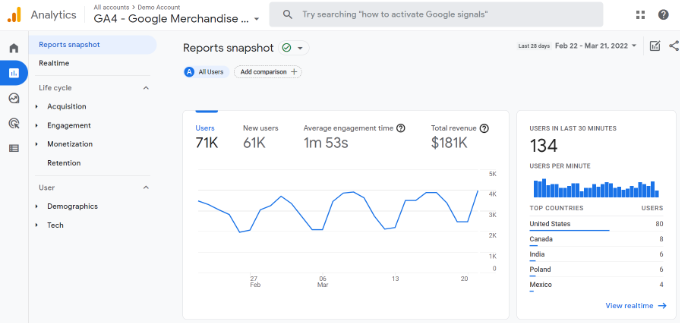
Google Analytics 4 reports are a bit different from Universal Analytics reports. In the left column, you’ll see a dedicated Reports option. The reports are grouped together under 2 broad categories, including Life Cycle and User.
One of the most noticeable differences you’ll find in GA4 reports is that there’s no bounce rate metric. Other than that, you’ll find a new reporting interface, new metrics like engagement time, there are no goals in GA4, and more.
That said, you can expect more new features, reports, and metrics coming soon to Google Analytics 4 since development on Universal Analytics has ended and it will sunset in July 2023.
Here’s a breakdown of different reports in Google Analytics 4:
- Realtime report is similar to Universal Analytics and shows active users on your site in real time.
- Acquisition report shows which medium users use to find your websites, like organic, referral, email, and affiliate.
- Engagement report shows conversions and events that take place on your site.
- Monetization report brings all your eCommerce data in one place along with new reports like In-app purchases and Publisher ads.
- Retention report basically shows new vs returning visitors and helps get insights about user retention.
- Demographics help you see website traffic from top countries, cities, and more. It also shows gender breakdown and interest reports.
- Tech report shows which device, browser, operating system, app version, and screen size people use the most to view your website.